When we build a new website, we always hope it can reach more people. Adding our website to search engine is an good way to do this.
The following provides details using Hugo and Google Search Console as examples.
1 Ensure Correct Hugo Website Configuration
Hugo is a very popular open-source static site generator. It boasts outstanding speed and great flexibility. For the steps on generating a static site with Hugo, please refer to《Hugo Quick Start》。
First, let’s make sure the Hugo website is ready for search engine indexing.
1.1 Check baseURL
Search engine crawlers determine the website’s address based on the baseURL generated by Hugo’s static site. An incorrect or missing baseURL in the Hugo configuration file can lead to crawlers being unable to find or misinterpreting the website structure. Therefore, we must first check the Hugo configuration file.
Hugo configuration files come in two types: TOML and YAML, such as config.toml or hugo.yaml.
1.1.1 config.toml
Check the main configuration file config.toml, ensuring that baseURL is set to the production domain and ends with a trailing slash /.
# config.toml example
baseURL = 'https://nimblecode.tech/'
1.1.2 hugo.yaml
If the configuration file is hugo.yaml, check this file. Ensure that baseURL is set to the production domain and ends with a trailing slash /.
# hugo.yaml example
baseURL: 'https://nimblecode.tech/'
1.2 Generate robots.txt
The robots.txt file tells search engines which pages on the current site can be crawled and which cannot. Hugo can automatically generate a basic robots.txt file.
Execute the following command in the terminal:
hugo -D
After execution, you can find the file in the public/ folder. Its content will look like this:
User-agent: *
Disallow:
Sitemap: https://nimblecode.tech/sitemap.xml
- The first line indicates that all search engine crawlers are allowed to crawl the content of the current website.
- The second line indicates that there is no content currently prohibited from being crawled.
- The third line is optional and specifies the location of the sitemap file (which describes the website content), making it easier for search engine crawlers to fetch content.
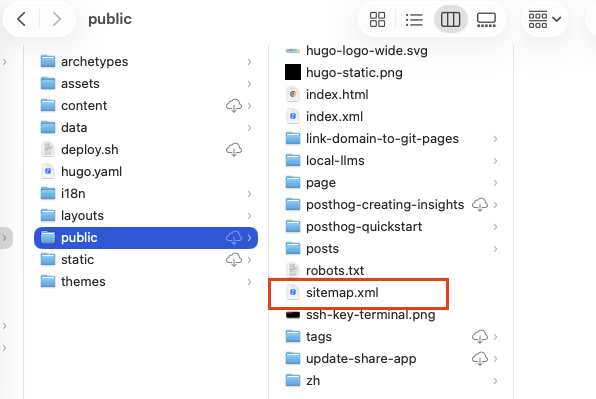
1.3 Generate sitemap.xml
A sitemap is the best way to inform search engines of all indexable pages on your site. Hugo automatically generates a sitemap file, named sitemap.xml, by default.
Execute the following command in the terminal:
hugo -D
After execution, you can find the file in the public/ folder.
1.4 Ensure Page Visibility
Hugo pages must be in a non-draft state to be deployed to the public/ directory. Therefore, ensure that the draft field in the article’s Front Matter is set to false.
---
# ... other metadata
draft: false
---
Then, rerun the hugo -D command to build and deploy.
2 Configure Google Search Console
When finished the Hugo configuration, you need to let the Google search engine to crawl your website pages. Here are the steps for operating inGoogle Search Console.
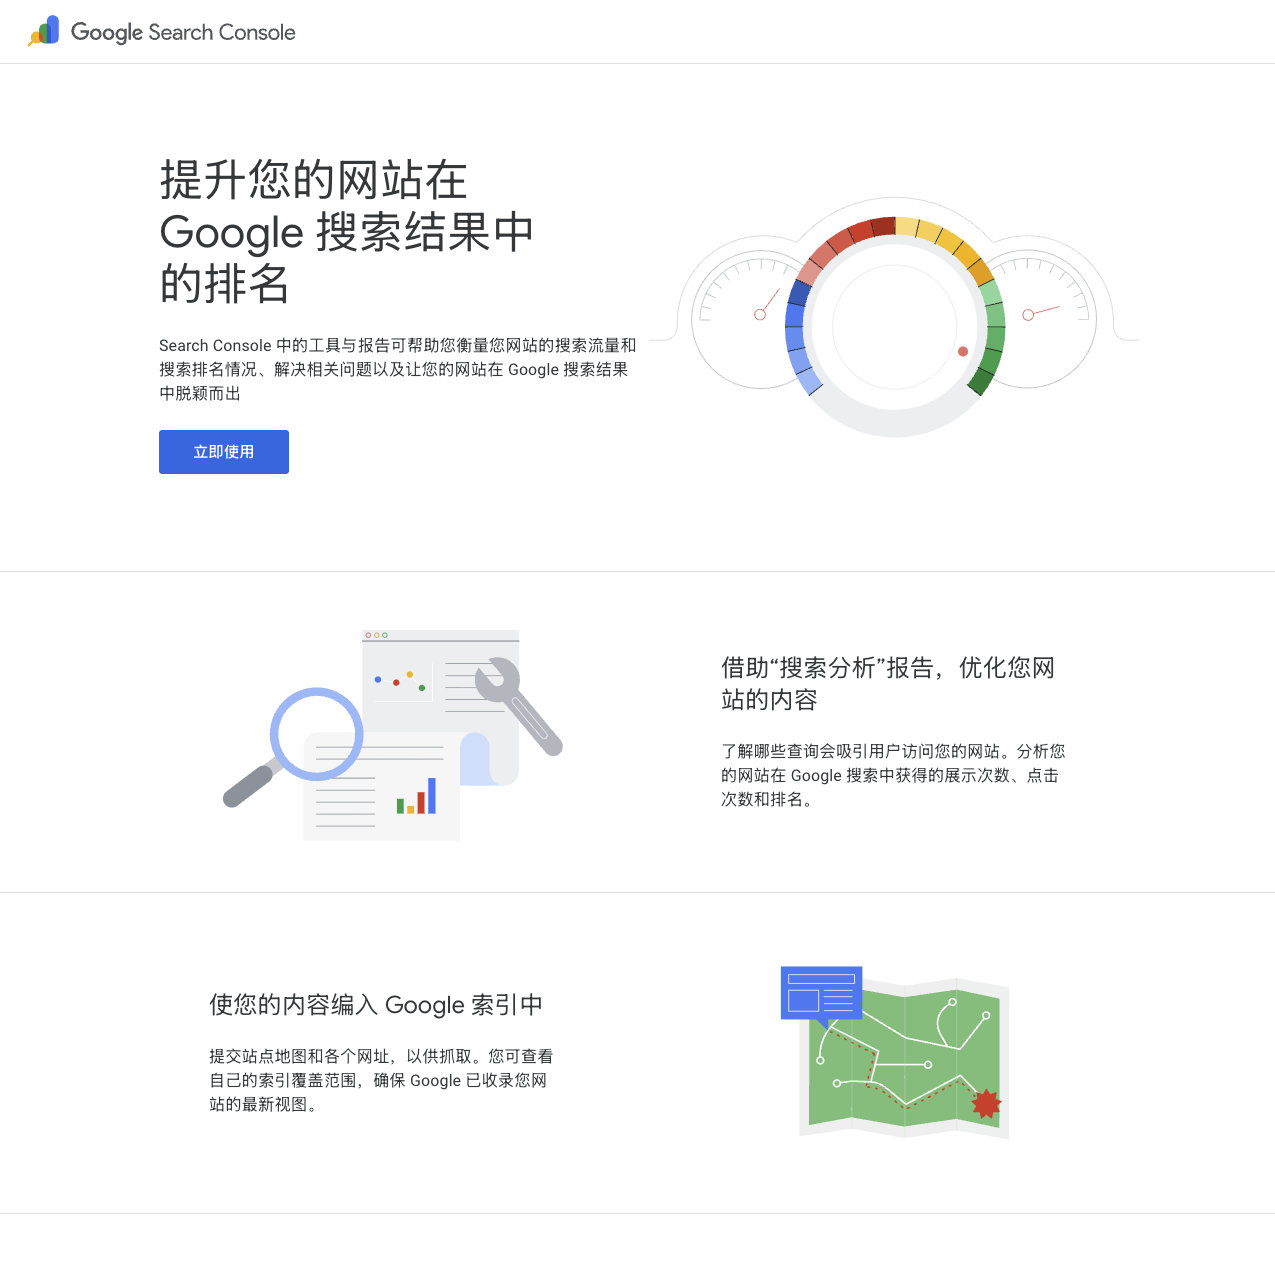
2.1 Submit sitemap.xml
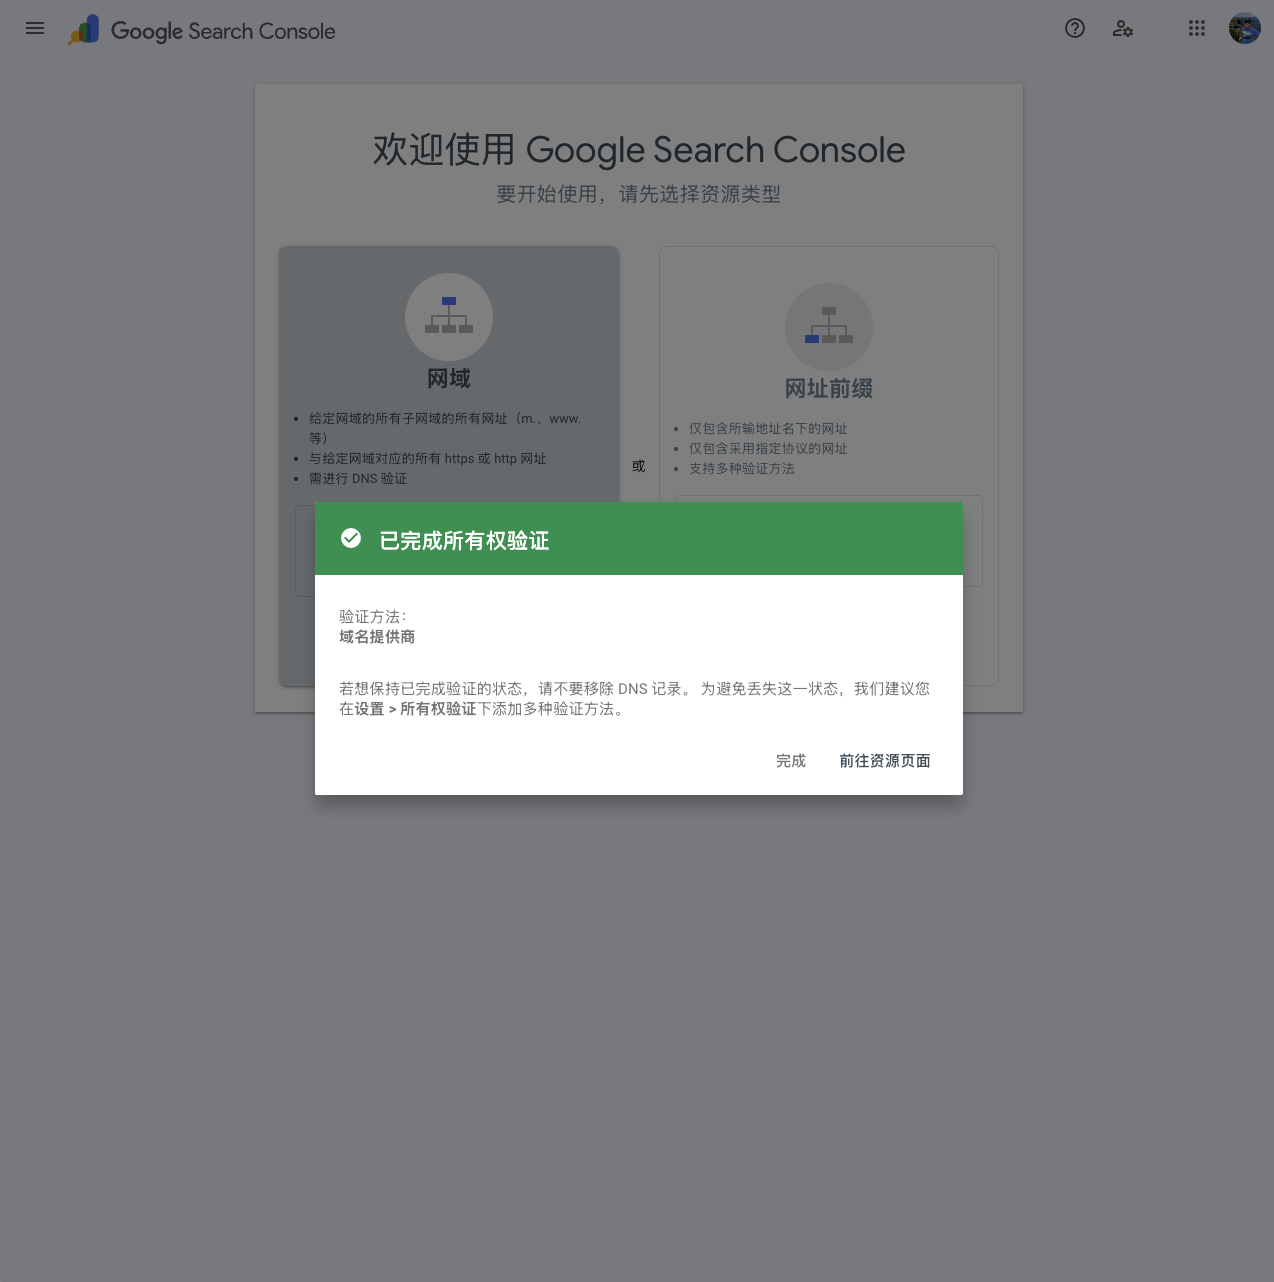
Open the Google Search Console, as show below:
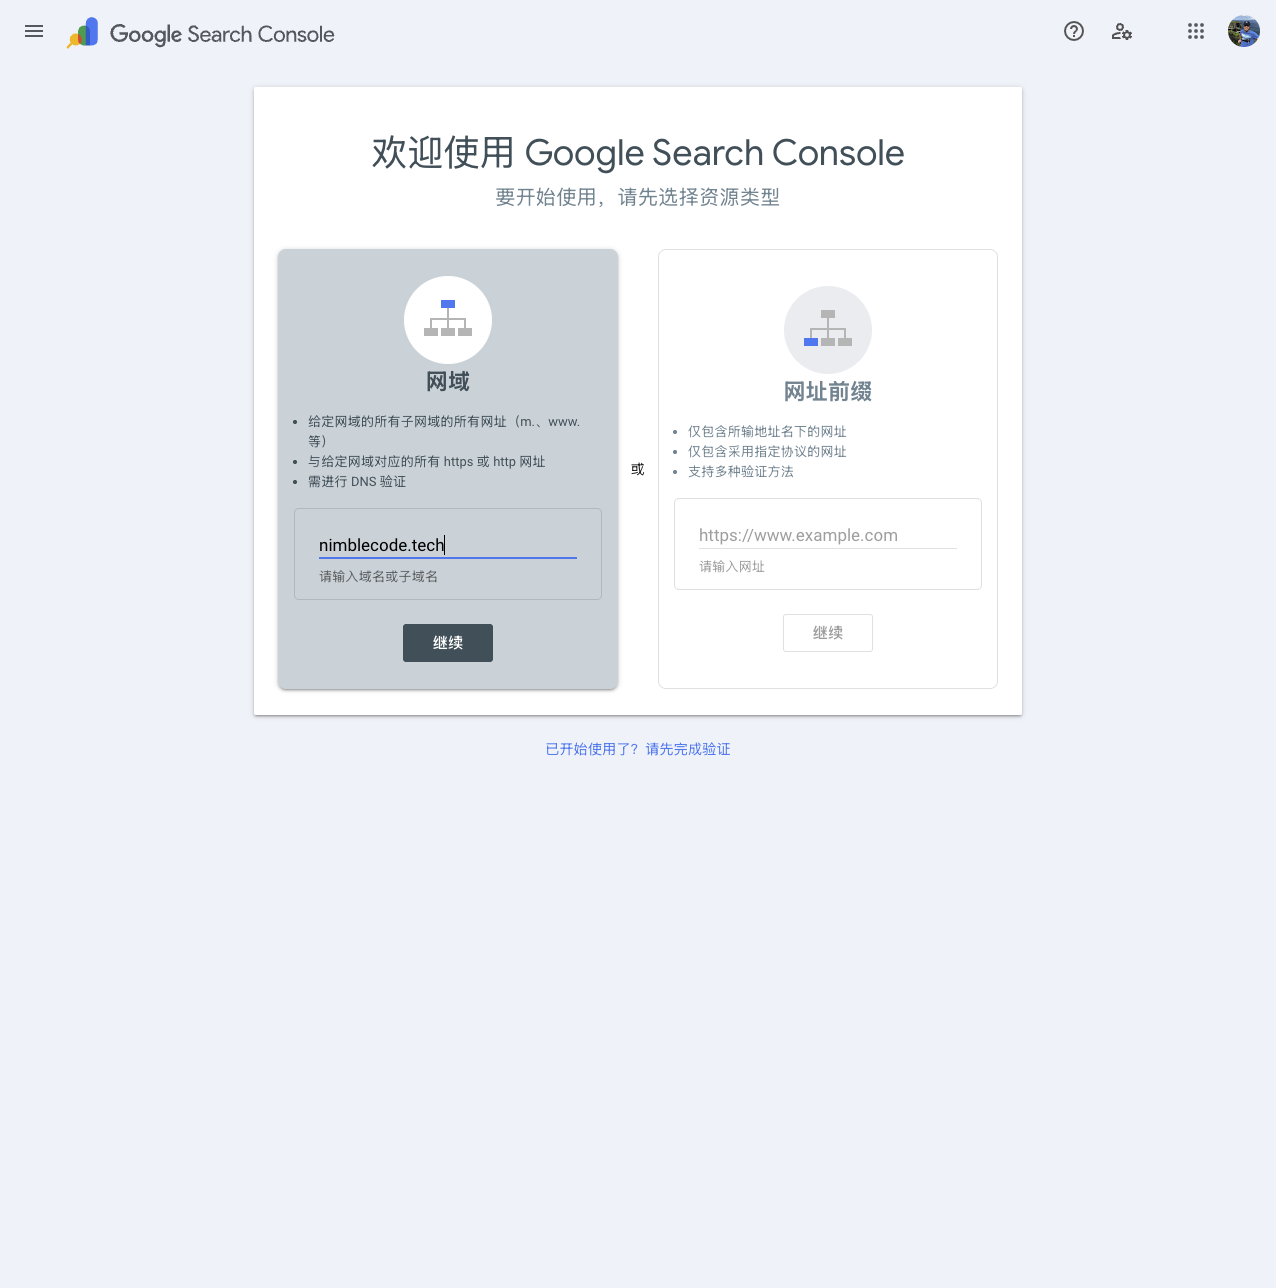
After logging in, you can configure the domain or URL you want the Google search engine to crawl. The image below uses nimblecode.tech domain as an example:
This process requires verifying the user’s ownership of the specified domain/URL, which usually takes 1 to 3 minutes.
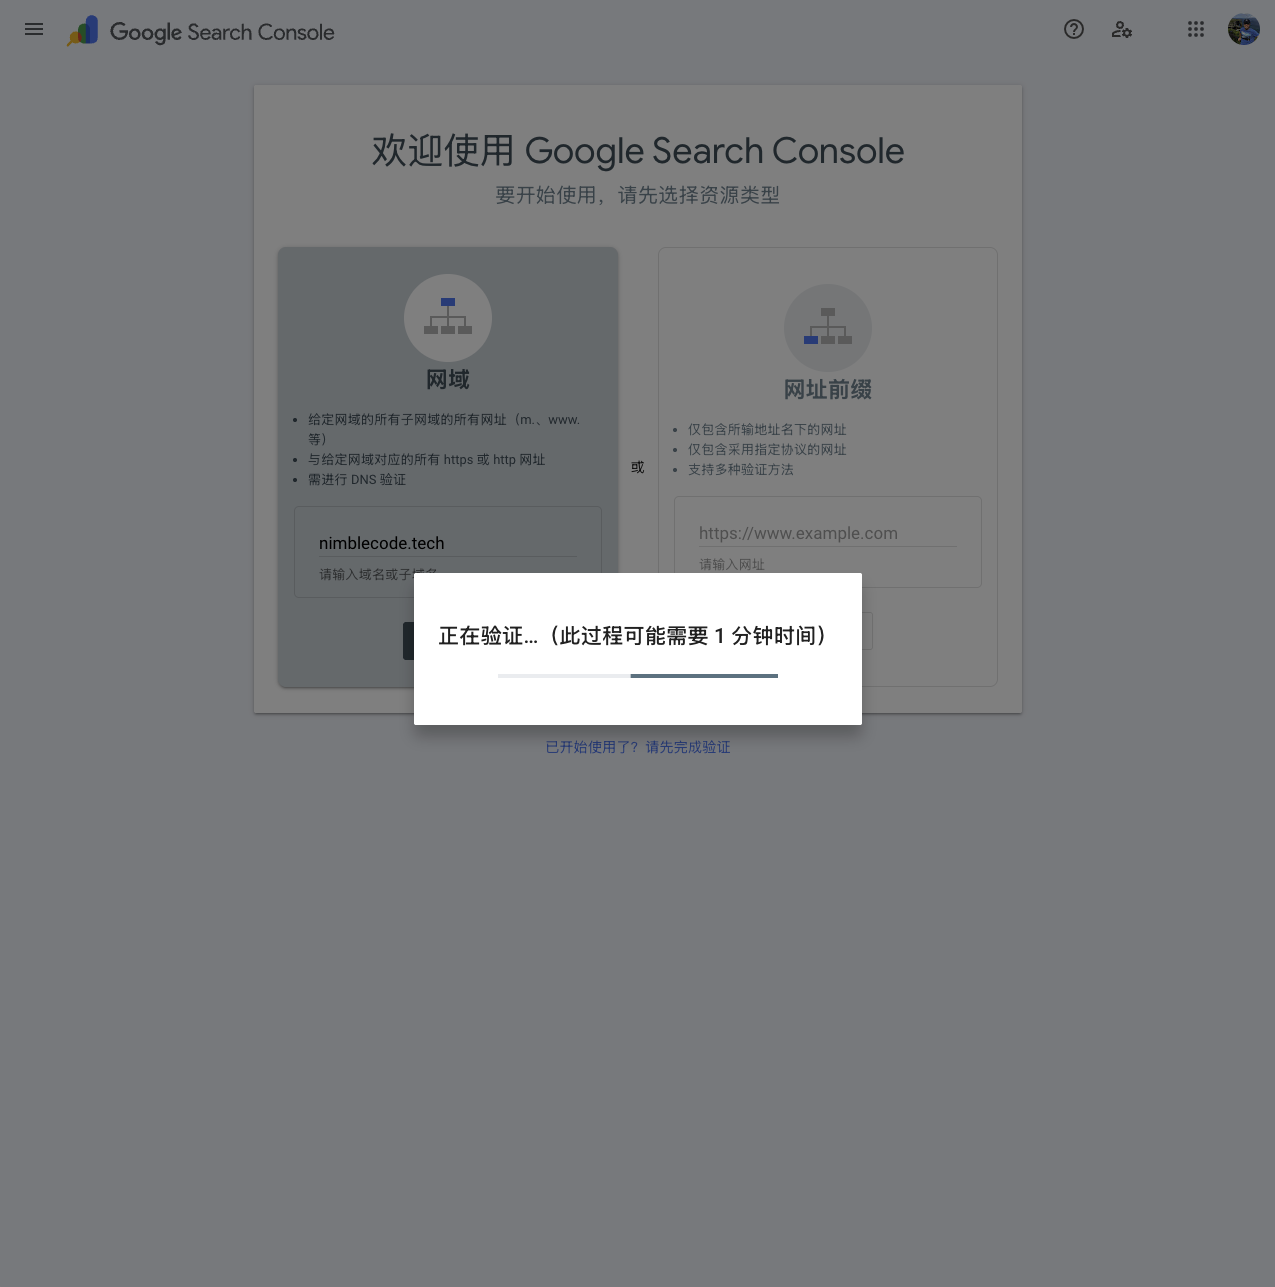
If you encounter issues leading to failure, simply make the required modifications.
After entering the Google Search Console dashboard, click the “Sitemaps” menu on the left. Then, “Add a new sitemap” address and click “Submit.”
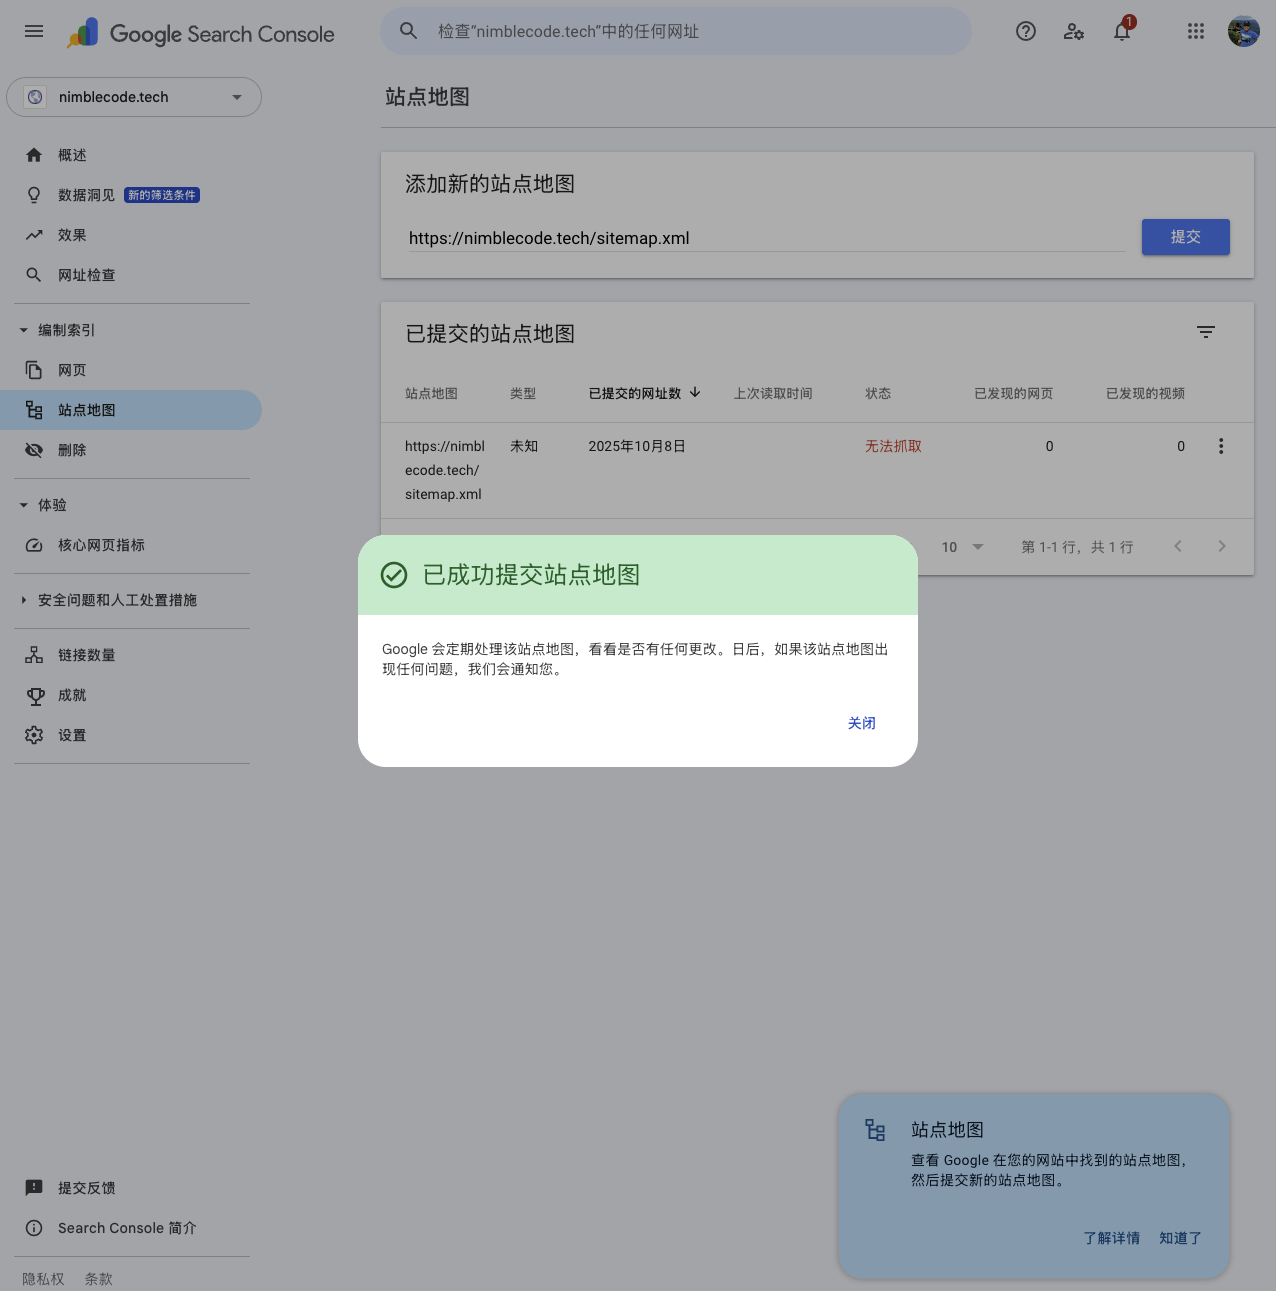
The status of the newly submitted sitemap might be “Couldn’t fetch.” Don’t worry about this, as the Google search engine processes site content in a queue. It usually changes to “Success” status within a few hours to 3 days.
At this point, the process of submitting the sitemap to Google Search Console is complete. The search engine will periodically check this file and crawl all links within it.
2.2 Request Indexing of a Specific URL
In addition to submitting the sitemap and waiting for Google to index all pages on the site, you can also try to have Google Search Console directly index a specific URL.
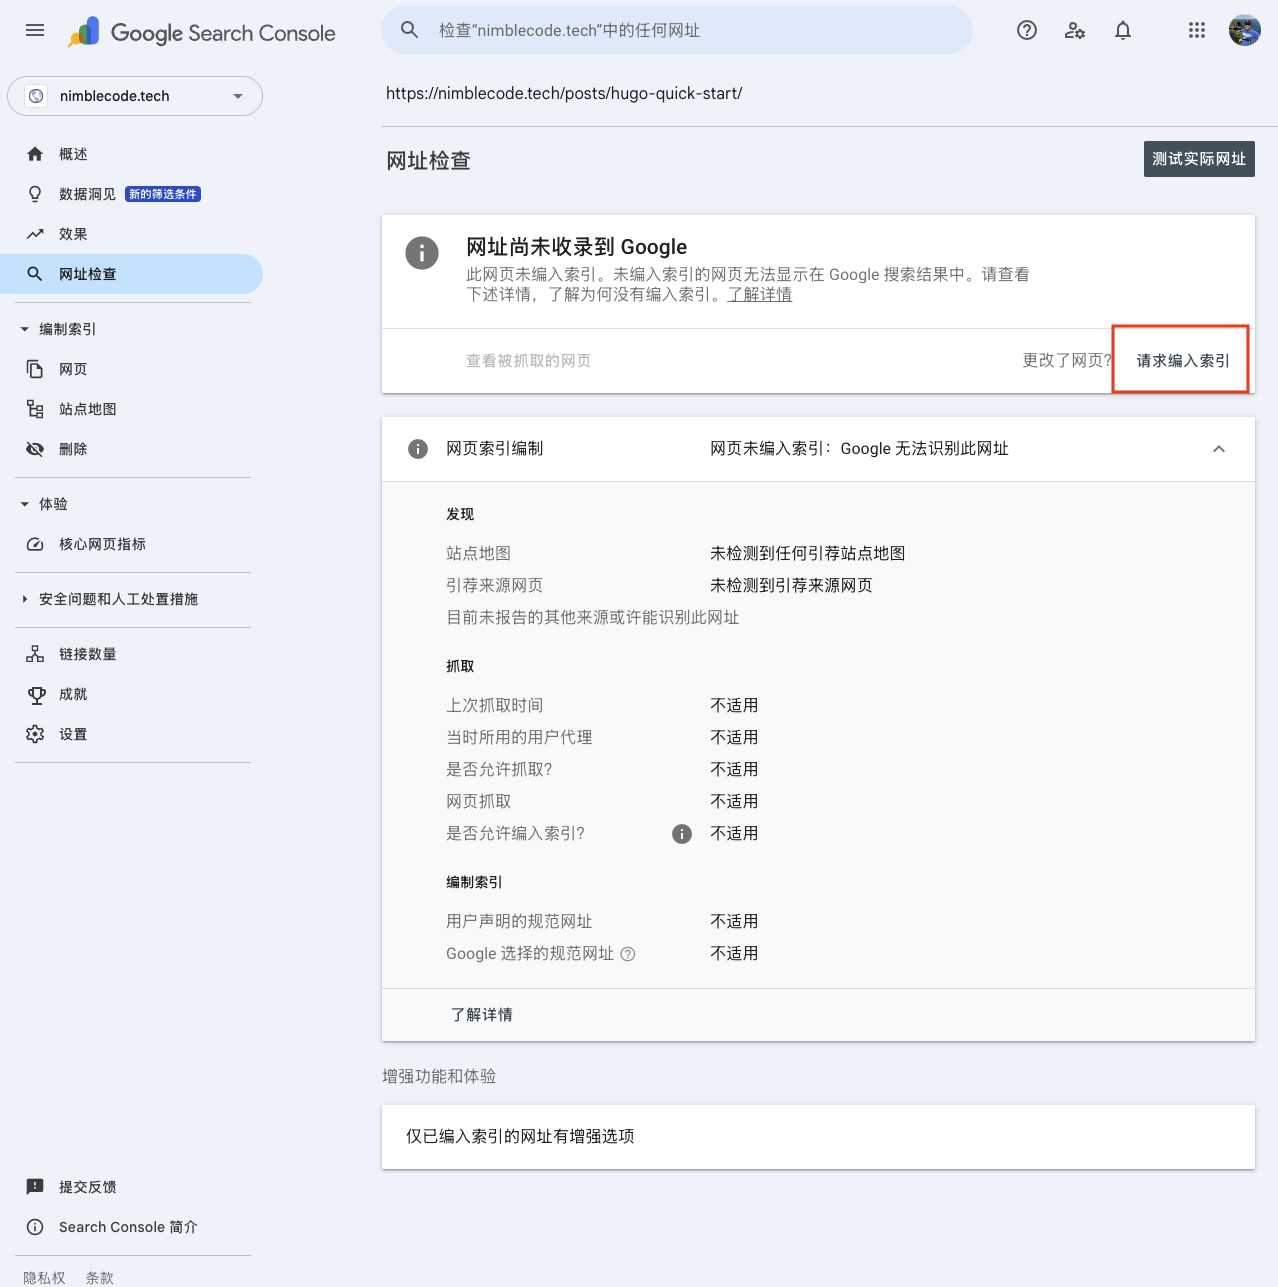
The specific steps are to first log in to Google Search Console, and then enter the full URL of the page in the search box at the top (URL Inspection tool). For example:
https://nimblecode.tech/posts/hugo-quick-start/
If it shows “URL is not on Google,” click “Request Indexing.”
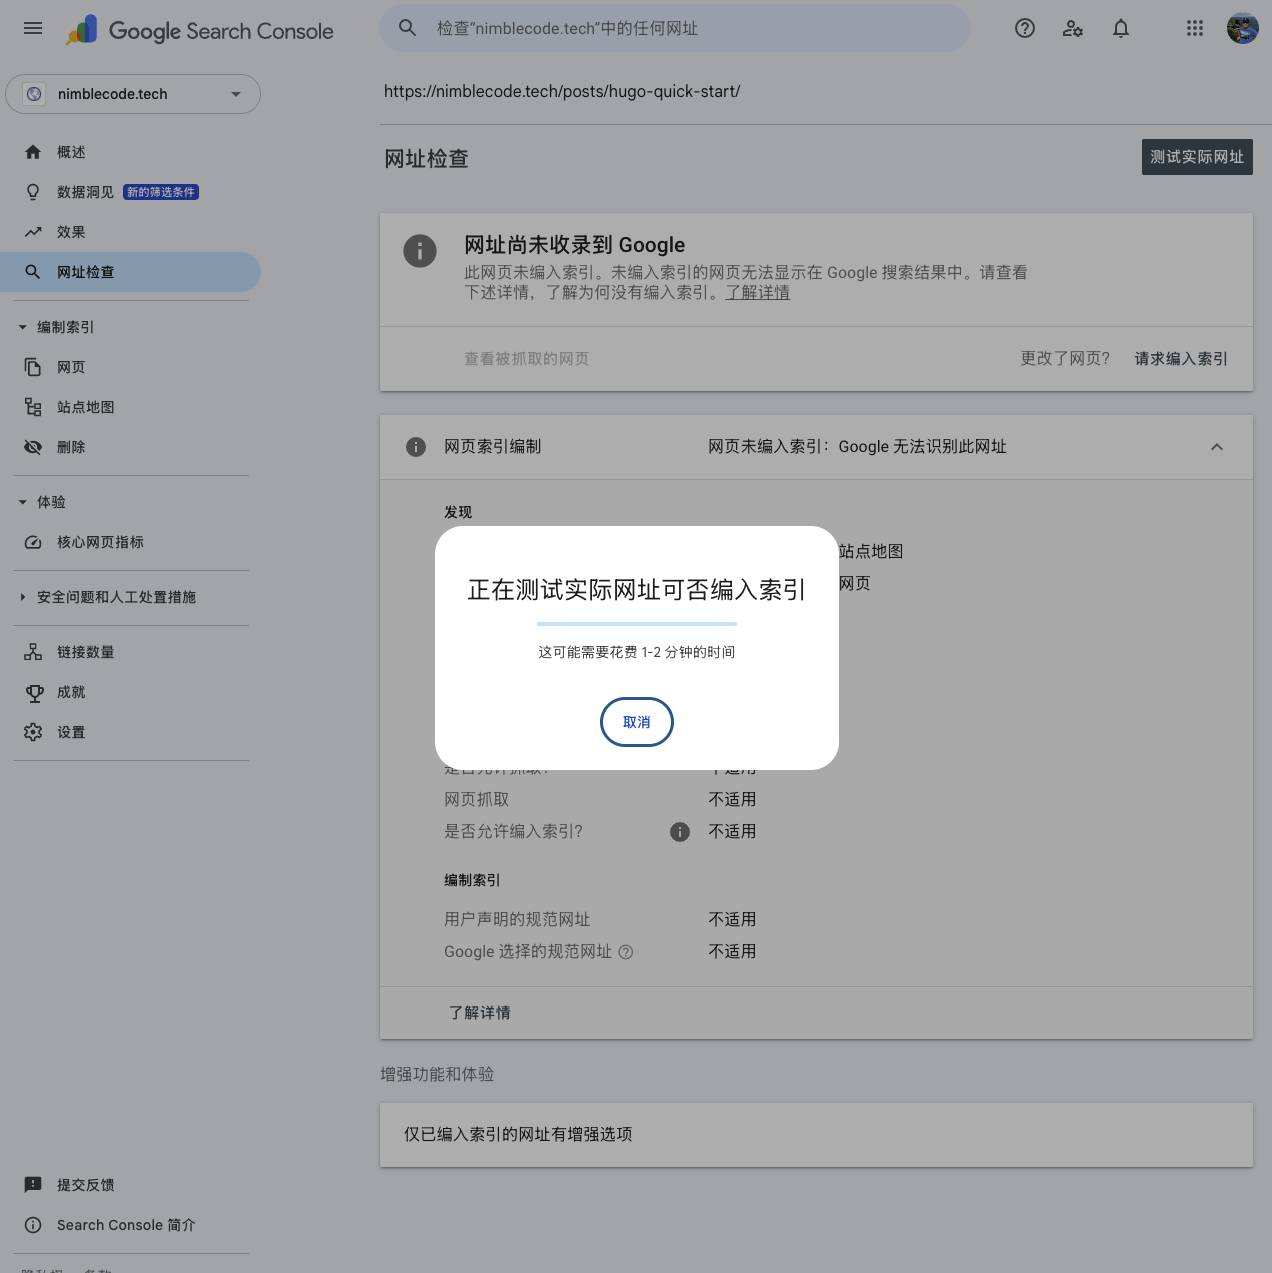

However, the time it takes for a request submitted this way to be indexed by Google can vary and may require a longer waiting period.
3 Common Issues and Troubleshooting Steps
3.1 File sitemap.xml Does Not Exist or URL is Inaccessible
This is the most common and easiest issue to resolve.
The cause is usually an incorrect submitted URL link or Hugo failing to generate the sitemap.xml file successfully.
The troubleshooting method is to directly visit the previously submitted sitemap URL in a browser.
- If successful, you should see a correctly formatted XML file content.
- If failed, you need to check if the sitemap.xml file exists in the public/ directory of your Hugo project. If not, you need to continue troubleshooting why Hugo failed to generate the file.
3.2 Server Connection Timeout
This problem is typically caused by Googlebot being unable to connect to the server or the connection taking too long. Examples include server downtime, firewall configuration, or excessively slow server response speed.
The troubleshooting way is to use a tool (any HTTP status checker tool) to test the sitemap URL. If it’s a newly deployed website, it might be that DNS changes have not fully propagated.
3.3 HTTP Error Status Code
This problem is caused by the server returning an error status code (e.g., 4XX or 5XX) instead of a successful 200 status code. For example:
- 404 Not Found: The sitemap file path is incorrect (same reason as 3.1).
- 403 Forbidden或401 Unauthorized: Server configuration (e.g., firewall rules) is blocking external access.
- 500 Server Error: Internal server error.
There are two troubleshooting ways:
- In Google Search Console, navigate to “Settings” -> “Crawl stats” to see if Googlebot encountered any error status codes when accessing the website.
- Alternatively, use Chrome’s “Developer Tools” Network tab to view the HTTP status code returned when accessing the sitemap.
3.4 robots.txt Blocking Crawling
This problem is generally caused by incorrect rules in the robots.txt file that mistakenly prohibit Googlebot from accessing the sitemap file or even prevent crawling of the entire website. For example, the robots.txt file contains rules like:
Disallow: /sitemap.xml
or
Disallow: /
The troubleshooting method is to access the site’s robots.txt file in a browser and check for the following:
-
Is there a
Disallow: /underUser-agent: *(prohibiting crawling of the entire site)? -
Is there a
Disallow: /sitemap.xml(prohibiting crawling of the sitemap file)?
If these situations exist, correct the robots.txt file and redeploy.
3.5 Sitemap Format or Size Issues
The sitemap file itself might have XML format errors, or the file might be too large. For example, the file may contain invalid characters, incorrectly closed XML tags, encoding errors, etc. If the sitemap file size exceeds Google’s limit (50MB uncompressed), problems will also occur.
The troubleshooting method is to use the Google Search Console “URL Inspection” tool and enter the sitemap URL. This can provide more detailed information about crawling errors. If the sitemap file is too large, you can try splitting it into multiple smaller files.
4 Summary
To get your website content into the Google search index, you need to:
-
In Hugo: Ensure the
baseURLis correct, and thatrobots.txtandsitemap.xmlhave been generated. -
In Google Search: Submit the site’s
sitemap.xmlto Google Search Console.
After completing these steps, search engines will begin to crawl new pages on your site. The crawling and indexing process may take anywhere from a few days to several weeks.